Edit 01/02/2026: Updated to use OpenRouter.
I did all this initial setup on a desktop. Maybe you could do this all on mobile, but I think it's easier in a full browser. Once everything's set up, you can use the AI client on mobile or desktop easily.
This how-to only covers setting up Obsidian with OpenRouter and using it for AI chat. There are so many more things you can do with Obsidian, Copilot, and API keys, so after you're done, you should definitely go back and check out the full documentation on all these things to learn about all the cool new stuff you've got to work with.
If you find any mistakes in this how-to, or have suggestions, please let me know.
1. Get an OpenRouter Account
OpenRouter is a service that gives you access to many LLM providers through a single dashboard and payment system, which is very convenient because there are a lot of providers out there now, and it would be a pain to have to manage accounts and payments to each of them individually.
Create an account there, then click your account icon on the top right and select Credits to set up your payment method and purchase, say, $10 worth of credits to get started.
(Side note, I highly recommend using a credit card service like Revolut for all online subscriptions because it gives you complete control over how you are billed and lots of other nice features.)
Now click on API Keys, then Create API Key and give it some name like "Obsidian Chat". You'll be presented with a new API key. The site will only show you this key once, so you'll want to copy it somewhere secure so you can grab it when you need it later. You can create and delete as many keys as you like, which allows you to take advantage of some of OpenRouter's nice features like setting up different provider routing rules and system prompts per key. For now though, you just need this one key to get started.
2. Install Obsidian
Obsidian is a free general note-taking application that absolutely blows away the others. It's available on pretty much every platform. Install it with your favorite package manager or app store and start it up. It will prompt you to create a new "Vault" which is just a fancy name for the folder it will store all its data in. I recommend creating your vault in a folder that's synchronized across your devices via Dropbox, iCloud, Google Drive, etc. That way you can install Obsidian on all your desktop and mobile devices and access the same vault. Obsidian itself also offers an integrated synchronization service that costs a few bucks a month. See the Obsidian Help docs for lots more information.
There are other AI clients out there, but Obsidian with the configuration described below is a solid choice, and is useful for so many other things beyond just AI chat that it's kind of a no-brainer choice in my opinion.
3. Install Obsidian Copilot
Click the Obsidian menu, Settings, Community Plugins. Click "Browse" and install "Copilot (by Logan Yang)". This is a freemium plugin, but the free version will do everything you'll initially want to do. Full installation instructions here. Later you can come back and install more plugins. There are tons of useful ones. I like "Commander" and "Excalidraw".
4. Register your API key in Obsidian Copilot
Once the Copilot plugin is up and running, in Obsidian, click the menu, Settings. On the left, click "Obsidian Copilot" under Community Plugins. Click on the "Set Keys" button a little way down under the General settings section. Under OpenRouter, paste in the API key you saved above. Then click "Add Model" and select a chat model to use. The latest version of the ChatGPT chat model (ex. "openai/gpt-5.2-chat") is a good place to start.
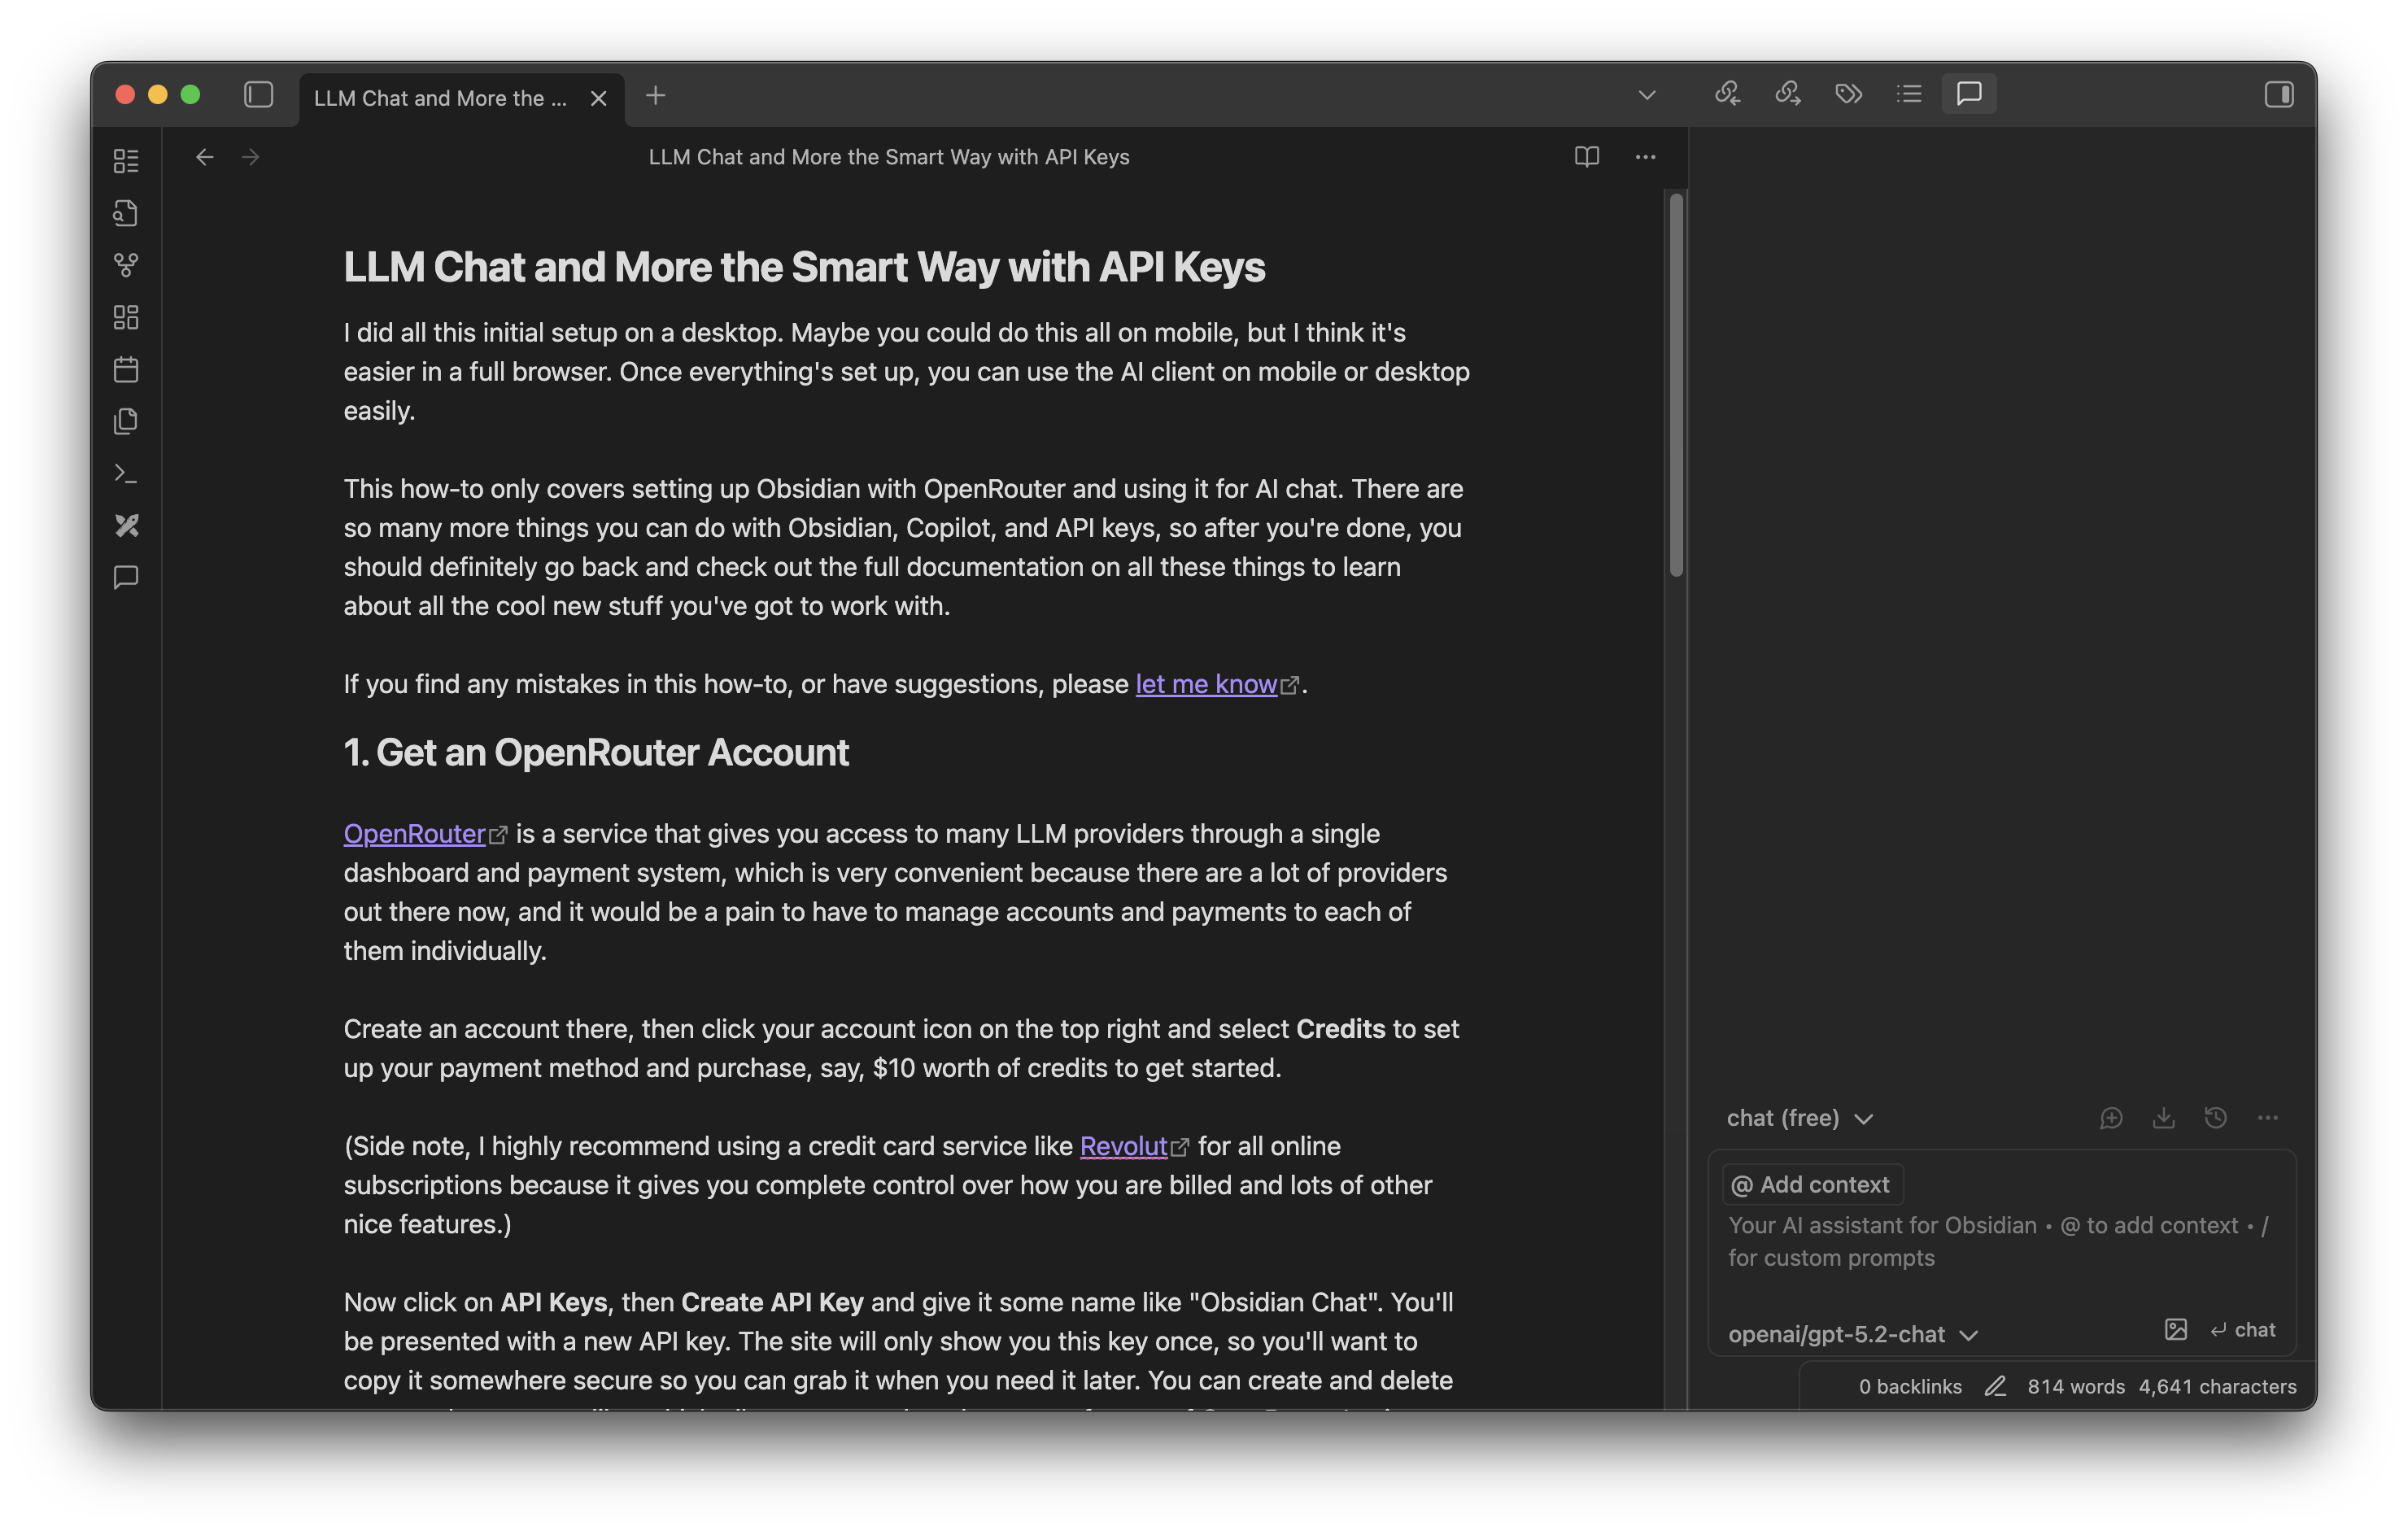
5. Start using Obsidian for all your AI Chat Needs
There should now be an icon on the left that looks like a text bubble, "Open Copilot Chat". Click that, then in the window it opens, at the bottom, select the model you just added above. The other dropdown in this window should be left on "chat (free)" for now. You can start a new chat in the dialog box there at the bottom of the window.
You can reference any document in your Obsidian Vault by typing two left square brackets in the chat window and selecting the document. You can also copy the history of your chat session to an Obsidian document by clicking "Save Chat as Note" in the Copilot window. There are tons of other things you can do, see the Obsidian and Copilot docs for all the details.