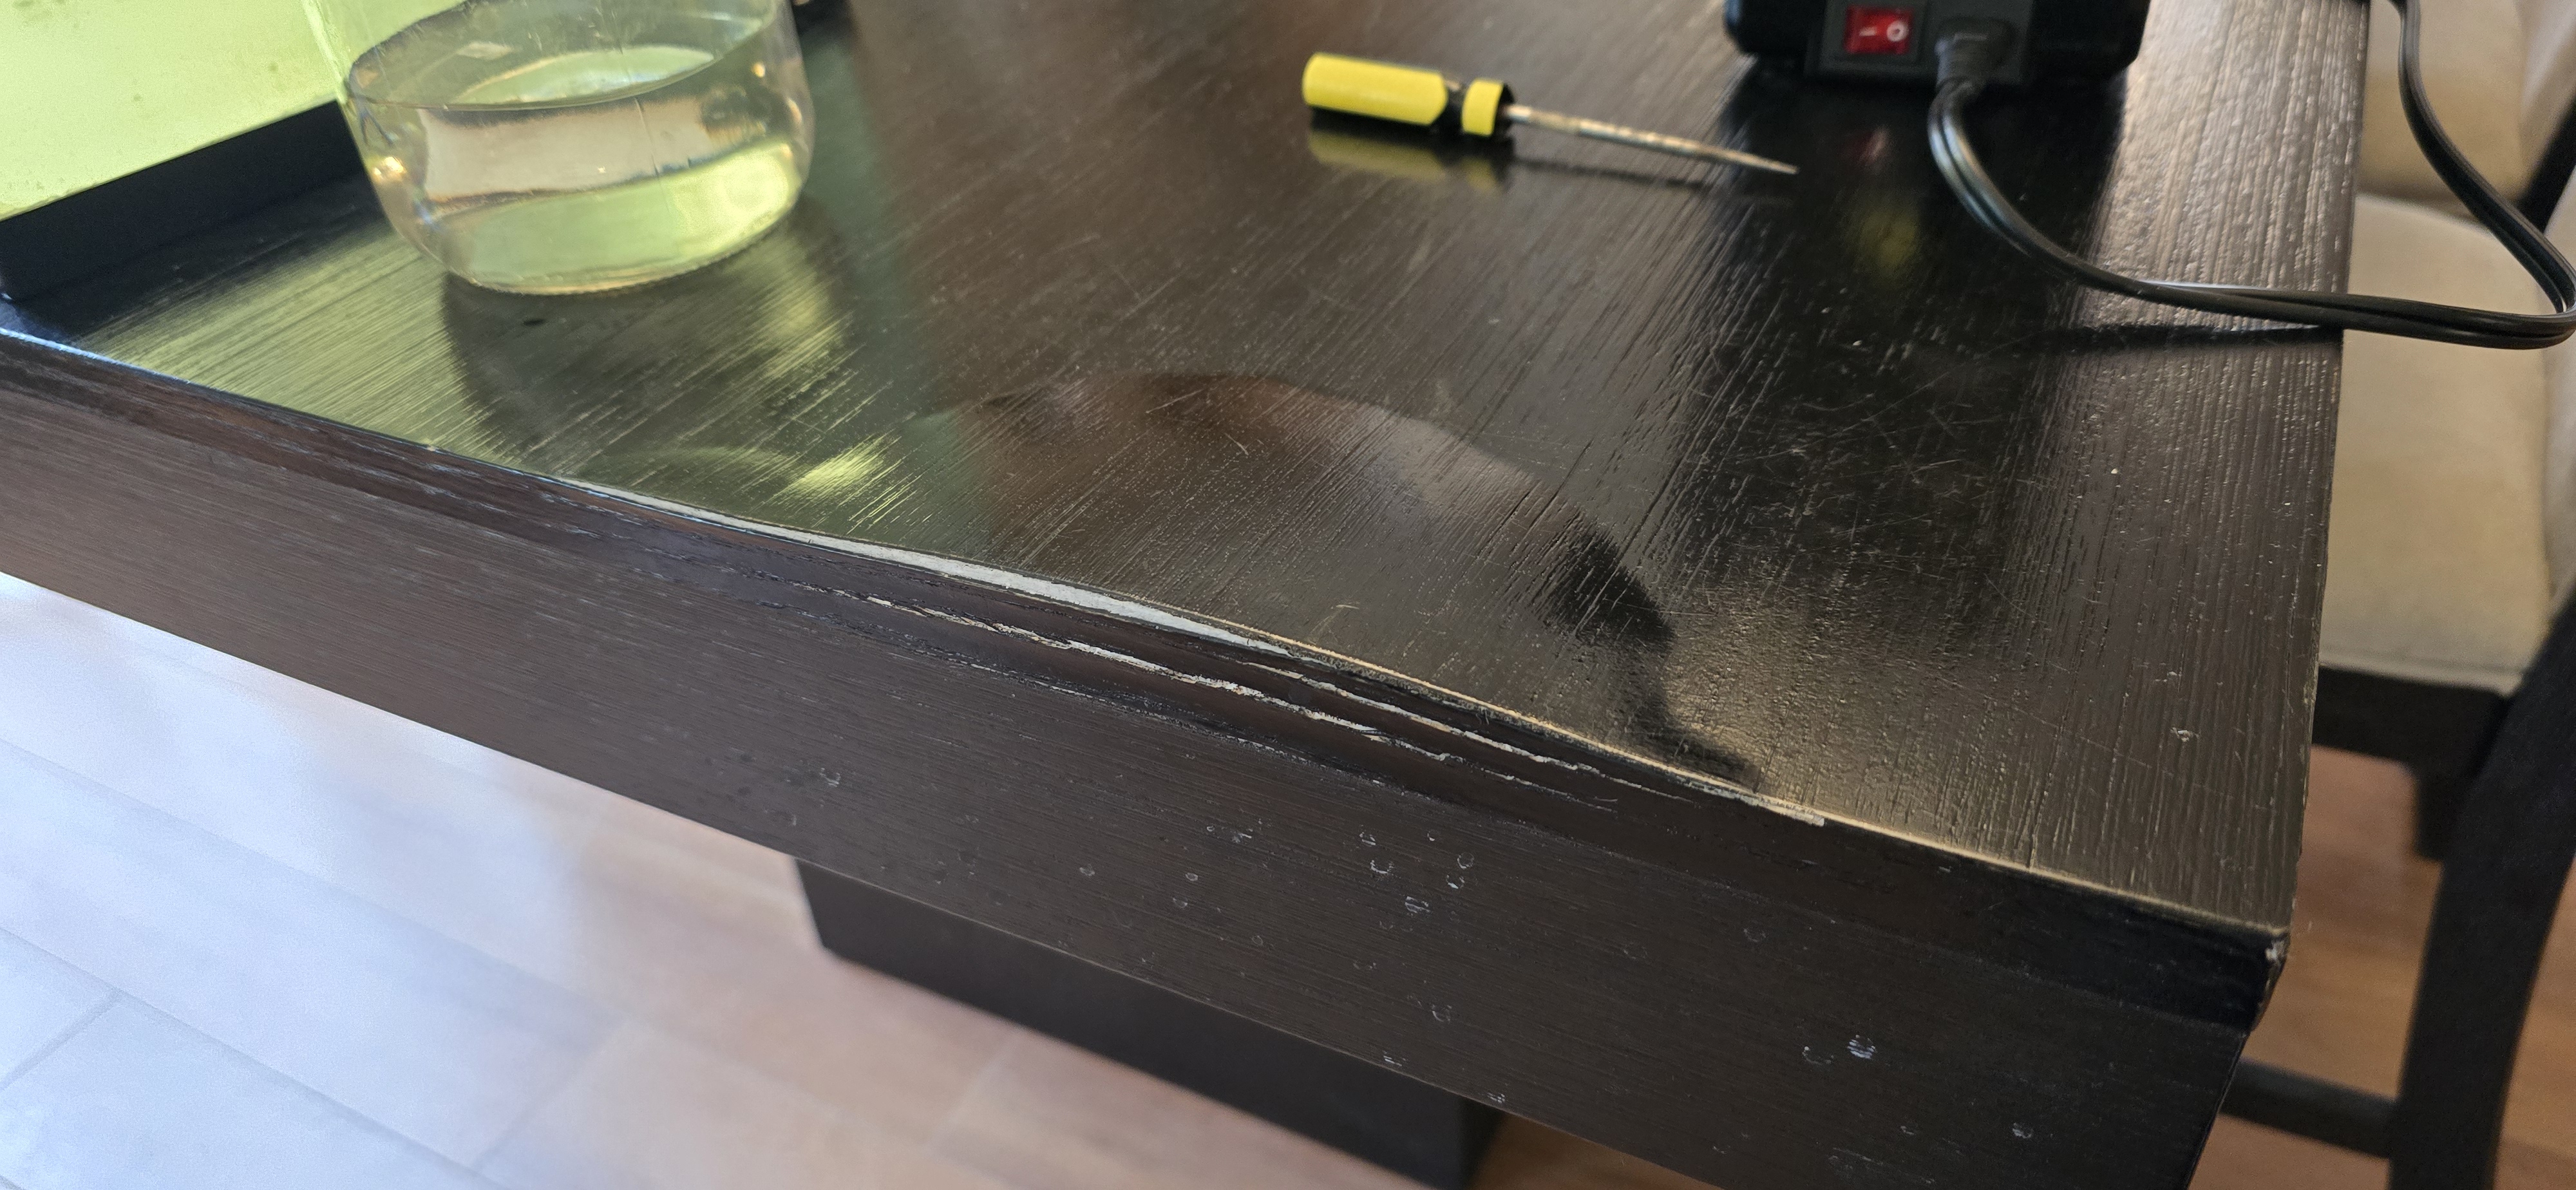
Earlier this year I messed up the dining room table big time. I was trying to test this custom aquarium UV sterilizer I'd designed (story for another time, long story short though it didn't work) by running it on a small tank of aquarium water, set up on the table. Now, I'd already needed to refinish this table once and should have known better than to use it for an amateur science experiment, but I don't really learn when it comes to these sort of things. I left the contraption running overnight, it leaked, and although the top of the table is waterproof, the edges are not. I discovered this the next morning when water had seeped underneath the edge of the veneer and soaked into the particle-board material underneath.
It was worse than it looks there, in fact the damage went all the way through the tabletop. I cut away the veneer and started removing the damaged material underneath. After digging at it a while, this is what I had to work with.
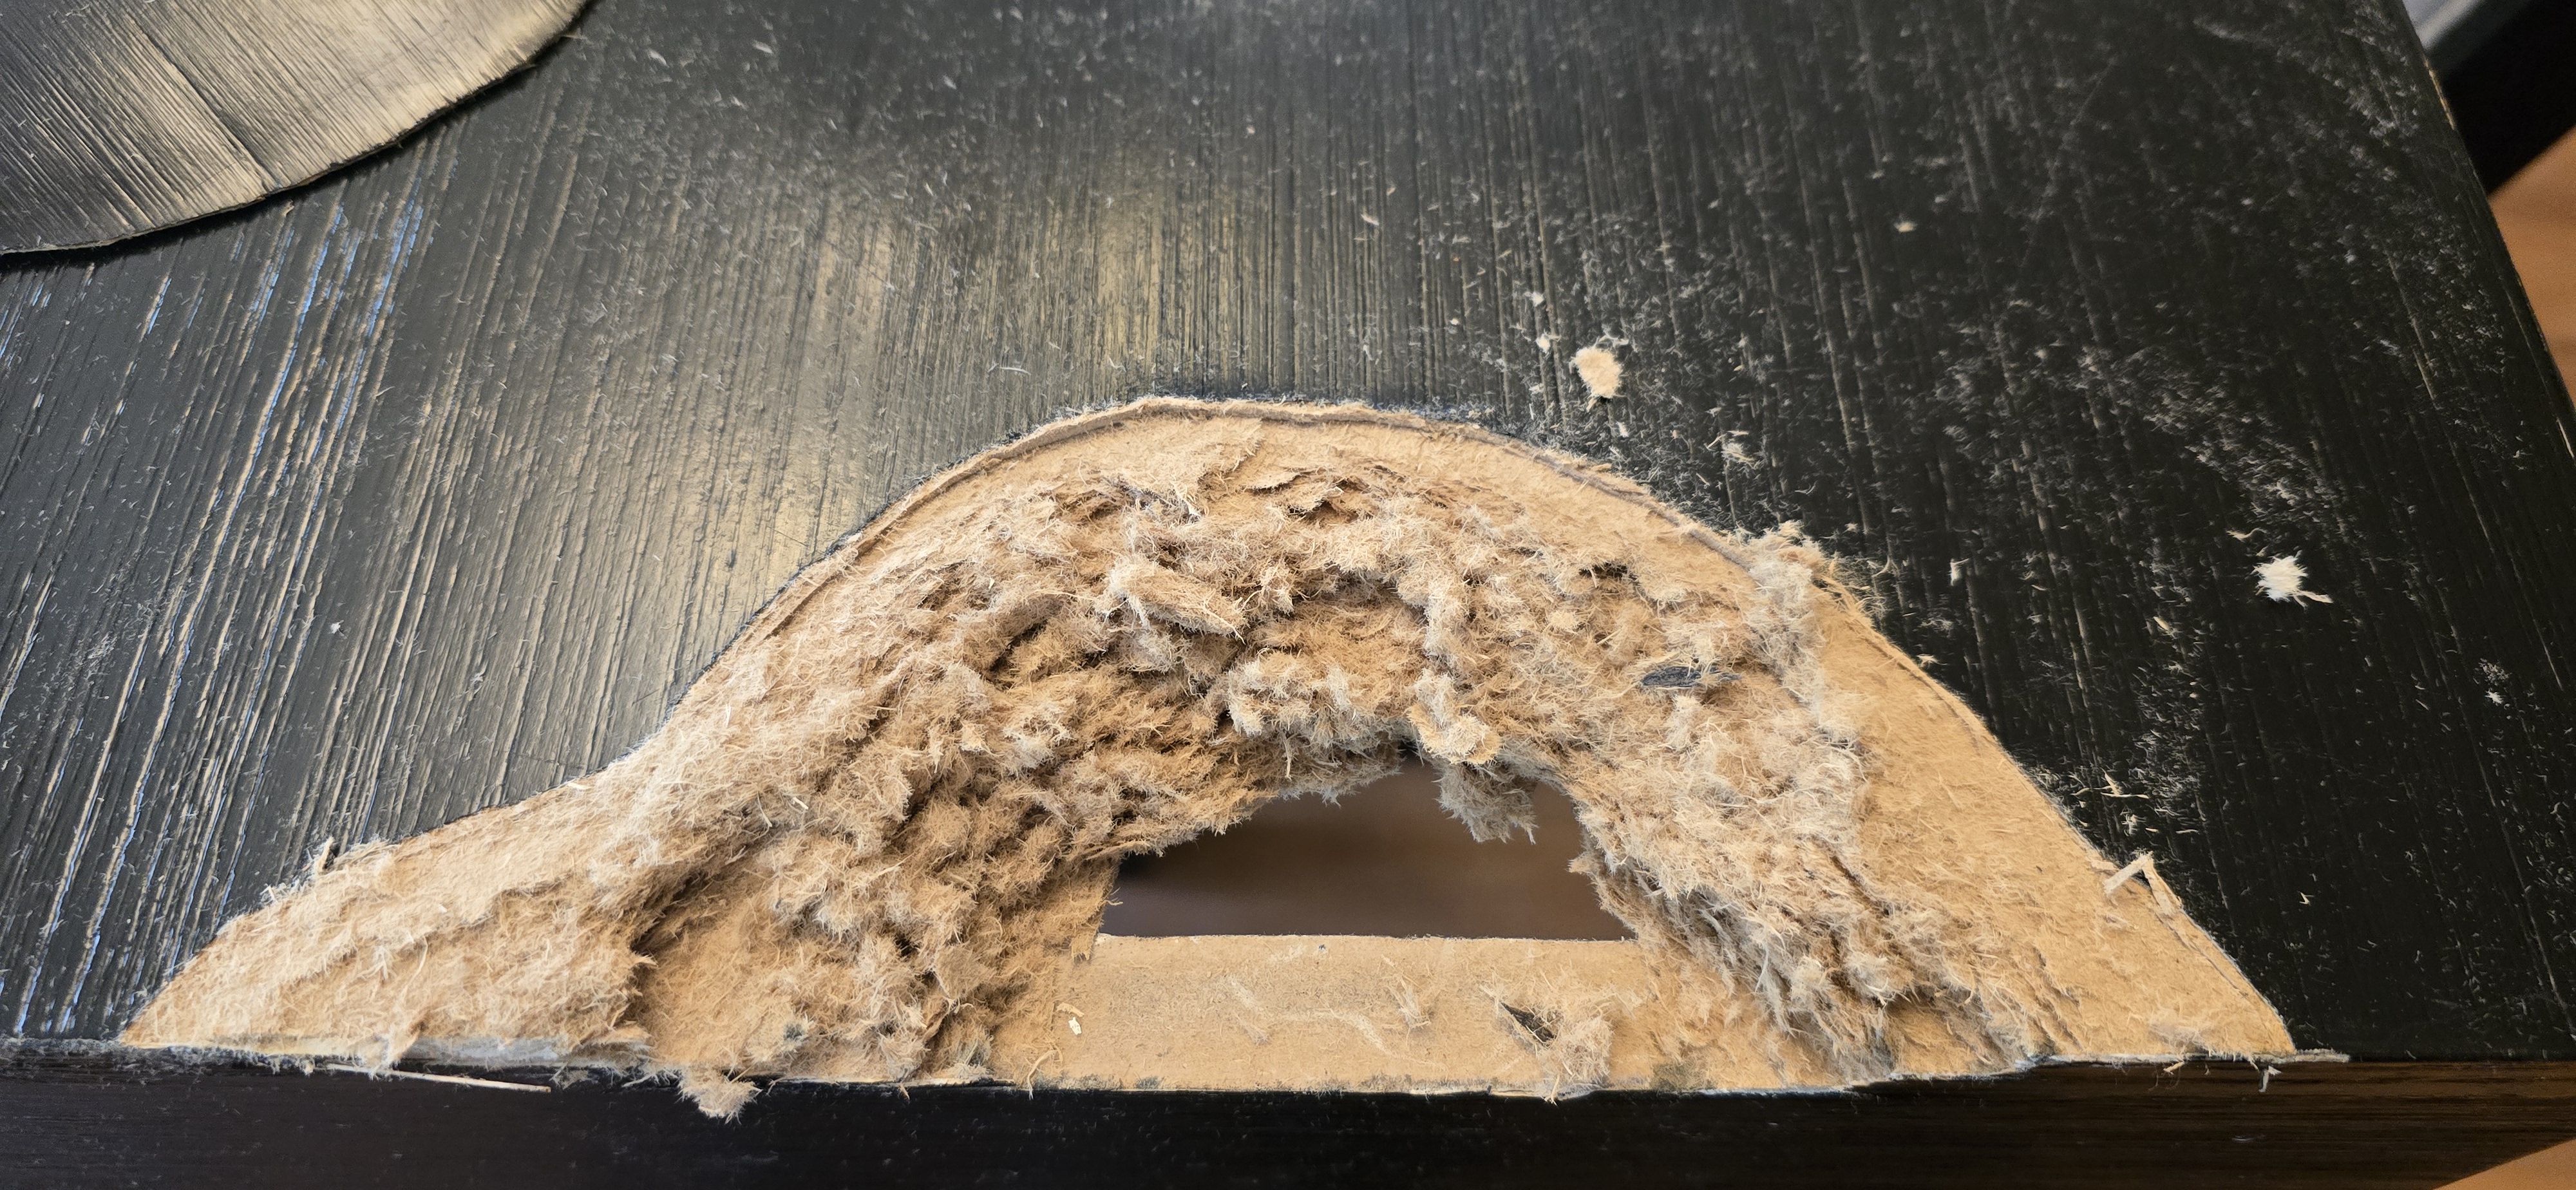
Talk about making a lot of work for myself. You can see the piece of veneer I cut away in that pic, at the top left. That piece was involved in the repair later.
But what a mess. It sat like this for over a month while I thought about how to approach the repair. It didn't really bug me that much, aside from seeing it and thinking, dang, I made a lot of work for myself that could have easily been avoided. Anyway, I took my time thinking through different ways fixing the thing.
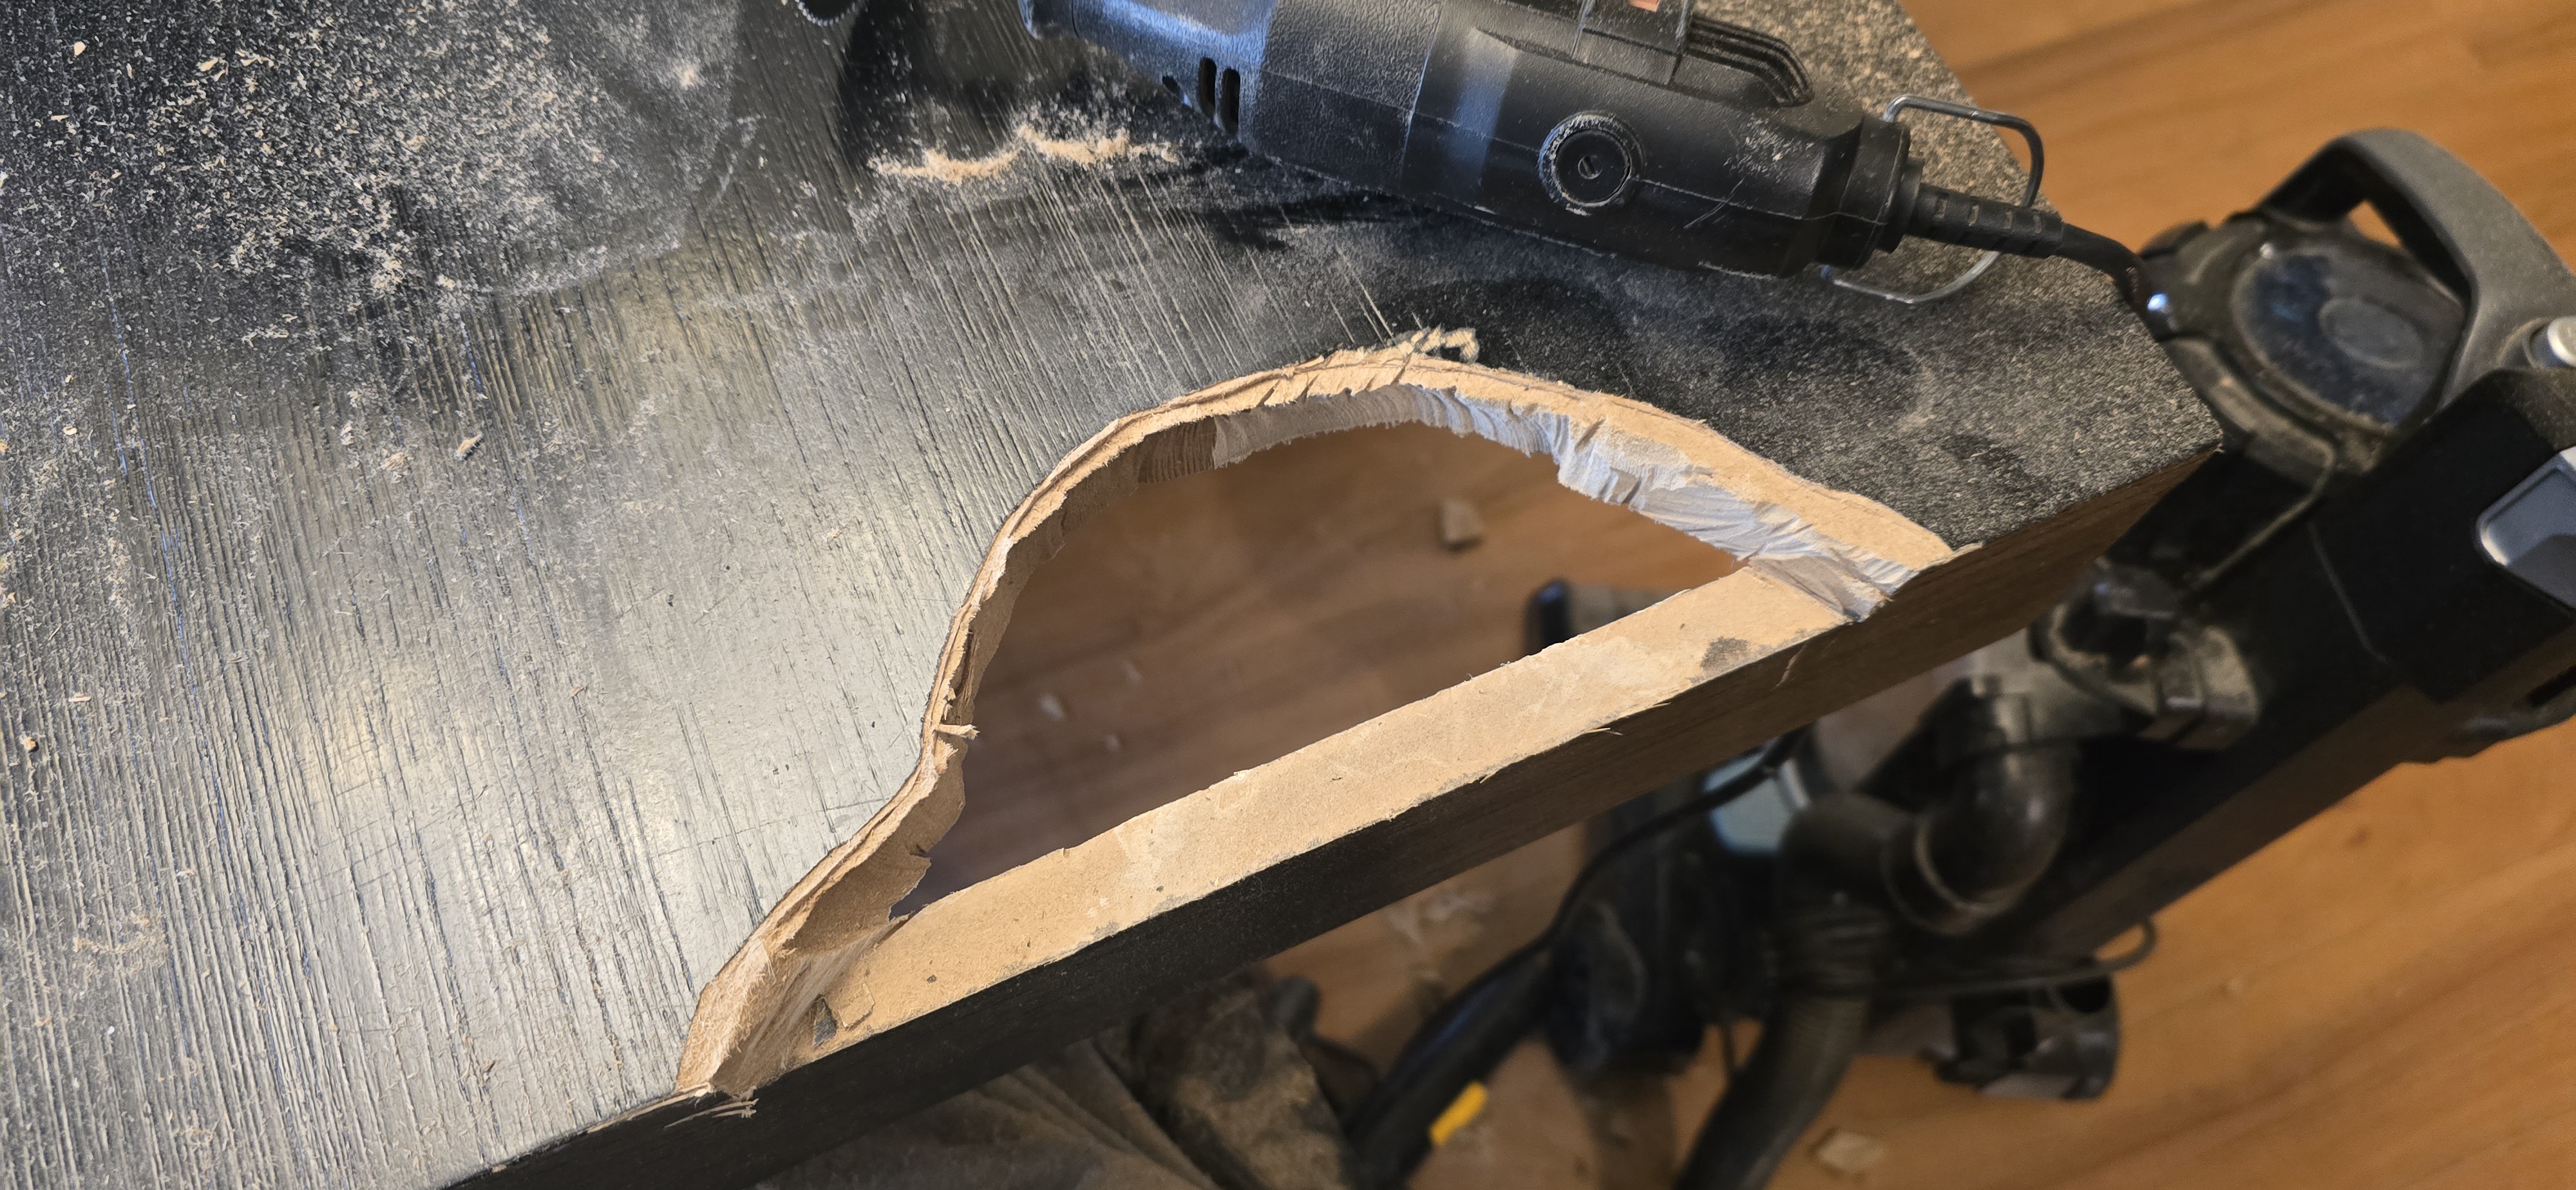
I used a Dremel with various tips to remove the rest of the damaged material. I hesitate to call it "wood" because it wasn't even really particle board. More like highly compressed cardboard or something. Now, this is a decent table, and this material is very strong when dry, but that veneer was really thin and this stuff underneath soaked up water like a sponge.
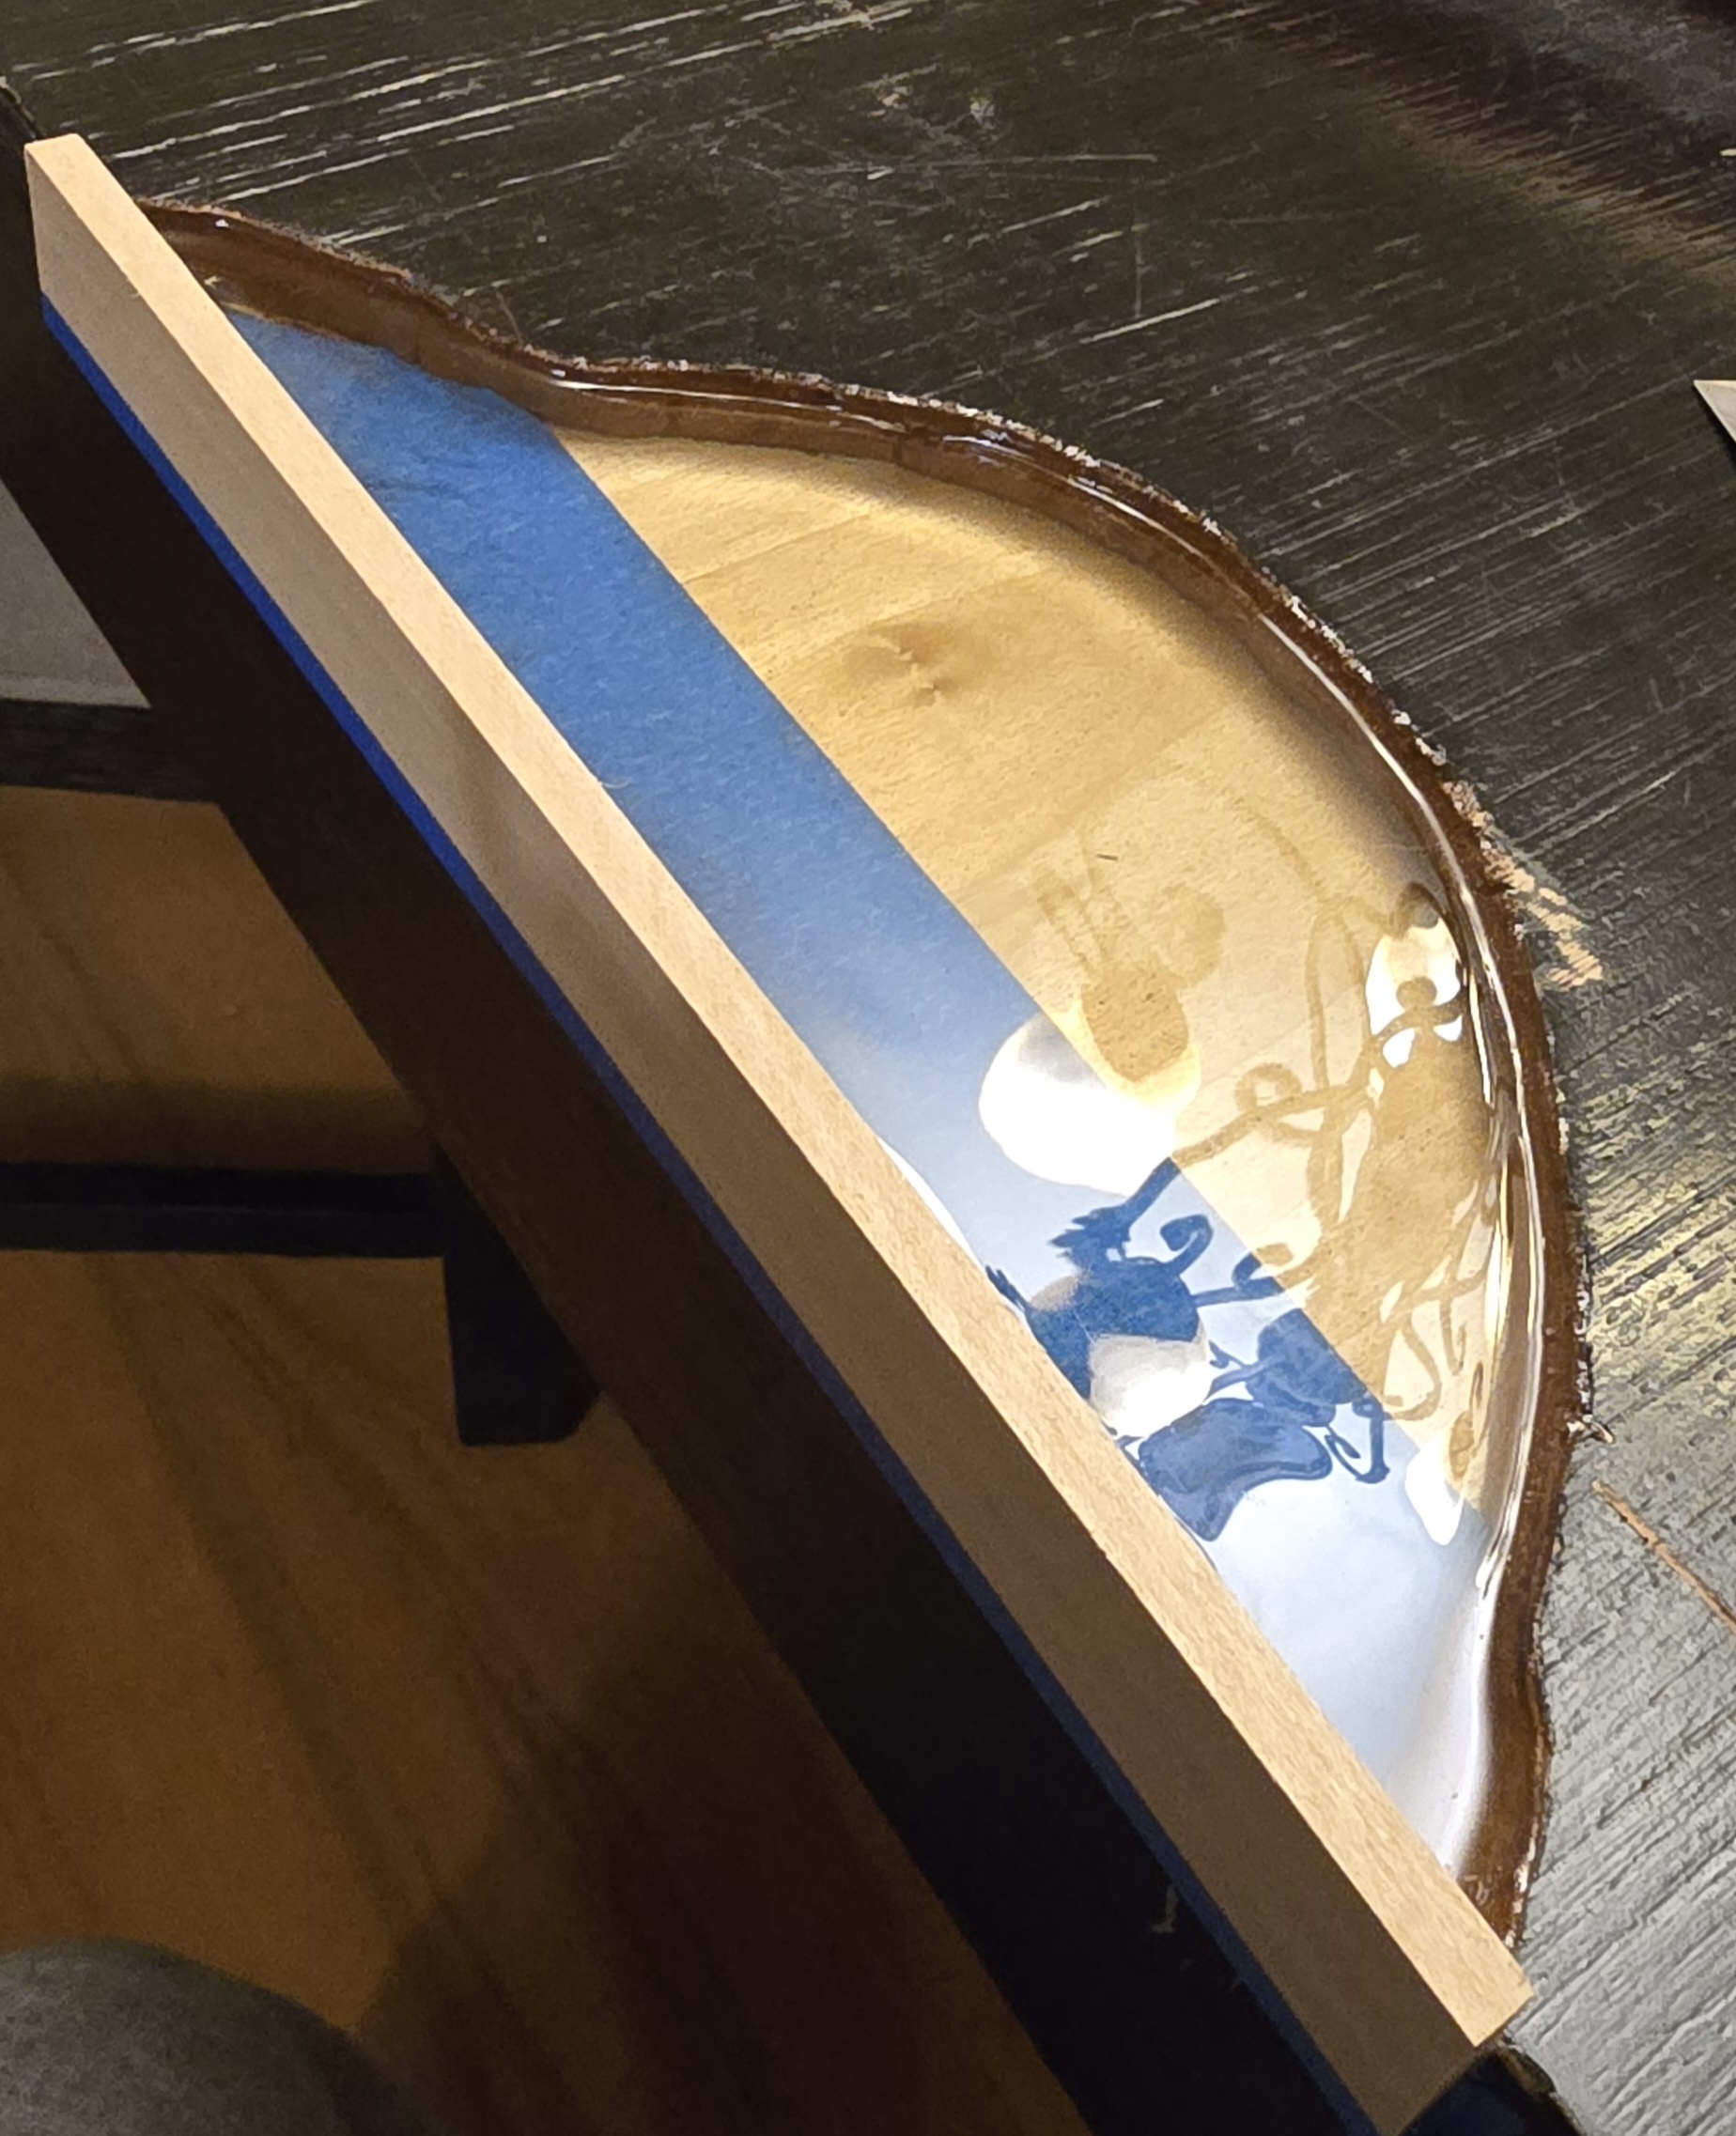
I decided to fill most of the hole back in using epoxy resin. That stuff is really strong, but more importantly I had a bunch of it on hand for some other project I wanted to do but never did. I used some scrap wood to form a shape to pour the epoxy into, which I just used plain superglue to tack into place.

And then I added the epoxy resin. Went in nice and clean, and was indeed very strong, so no worries the repair might fall apart.
Once the epoxy fully hardened, I removed the piece of wood on the side. In retrospect, I should have maybe put a little piece of wax paper in there, because the epoxy bonded to that piece of wood even more than I thought it would, and it was a pain to get it off. Kinda broke all apart and I had to use the Dremel to clean up the edge of the epoxy behind it. All good after that though.
The epoxy didn't come all the way up to the level of the tabletop, which was part of my plan. I wanted to use this black-tinted wood putty to bring the level up even with the tabletop surface, because it's way easier to work with. I sanded the epoxy (for better adhesion) and assembled another frame with scrap wood, then went to work with the putty.
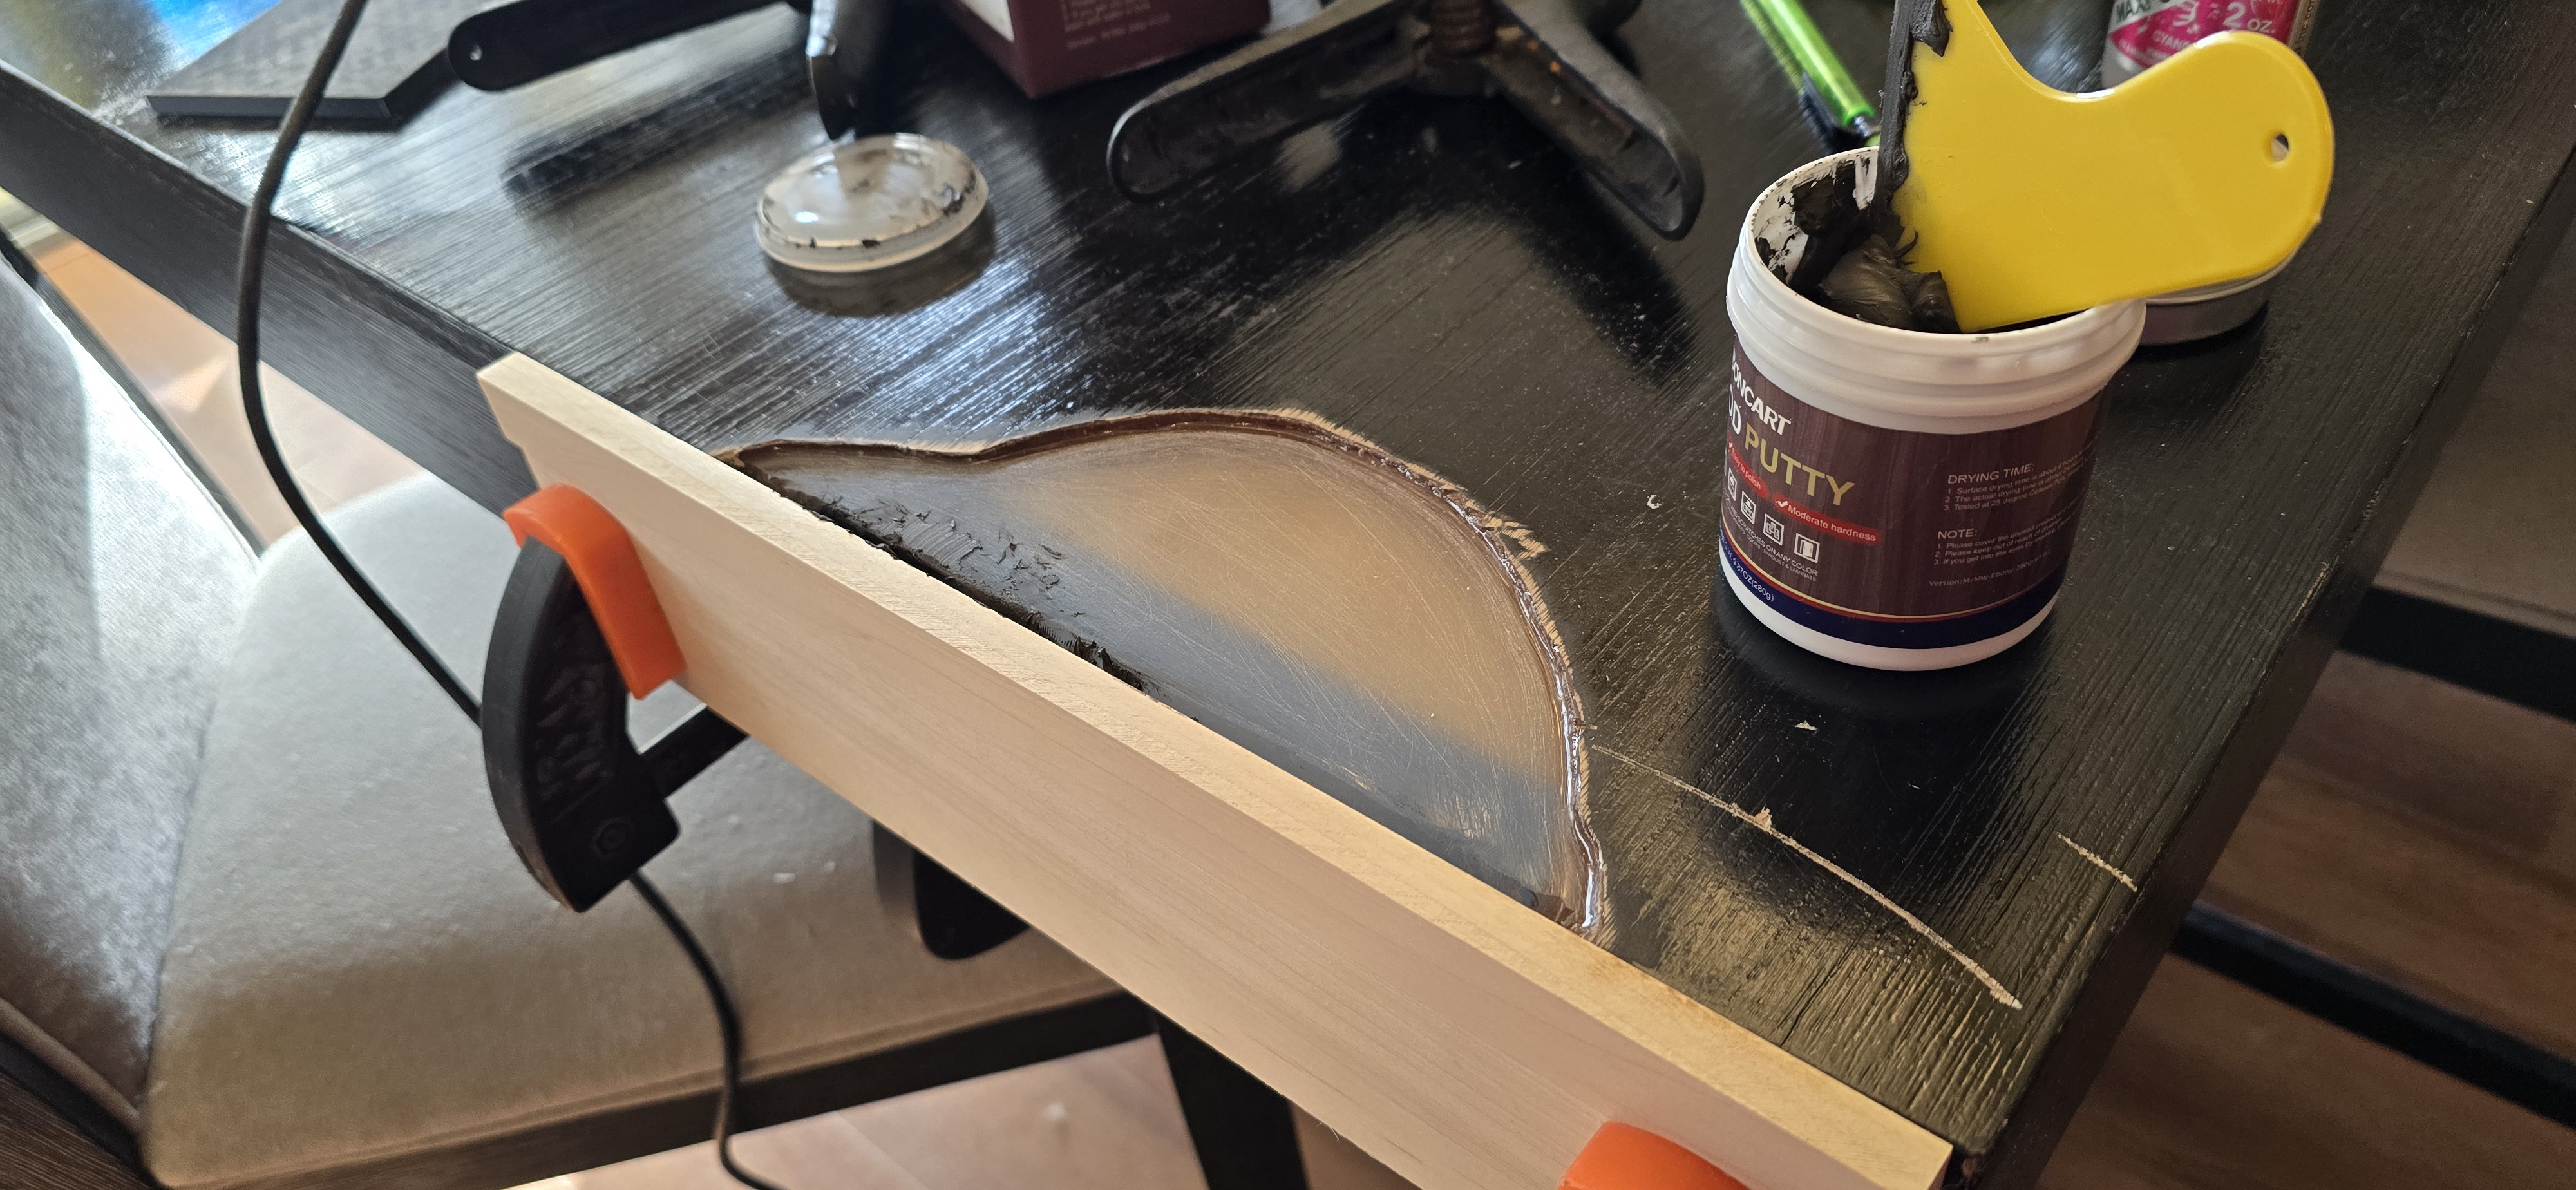
This wood putty is light and water-based, so it shrinks and cracks a bit when it dries. Thus I needed to do a few rounds of applying it, waiting, sanding a bit, and applying more. But at the end, I had a pretty good shape in place.
Don't have a good picture of it, but I had saved the piece of veneer I originally cut away over the damaged area. I used an iron with steam to flatten it out because it was so thin it curled up. The dried and sanded putty was just a tad lower than the table surface, about the same thickness as the original veneer. So I thought it might be a good idea to try to glue it to the top of the putty, so the area would have the original wood grain, and it would be stronger than if I just put polyurethane over the putty. And it sorta worked. The problem was the texture of the wood grain, although plainly visible, is only a fraction of a millimeter thick, and even though I worked to flatten out the putty surface as evenly as possible, it wasn't flat to that tolerance. So after the veneer was stuck back down, it was just a bit wavy and uneven. I had to use another layer of putty to flatten that out, which then covered up the wood grain. Still, the veneer provided good surface strength so it wasn't pointless. Here's what it looked like after the last round of putty and sanding.
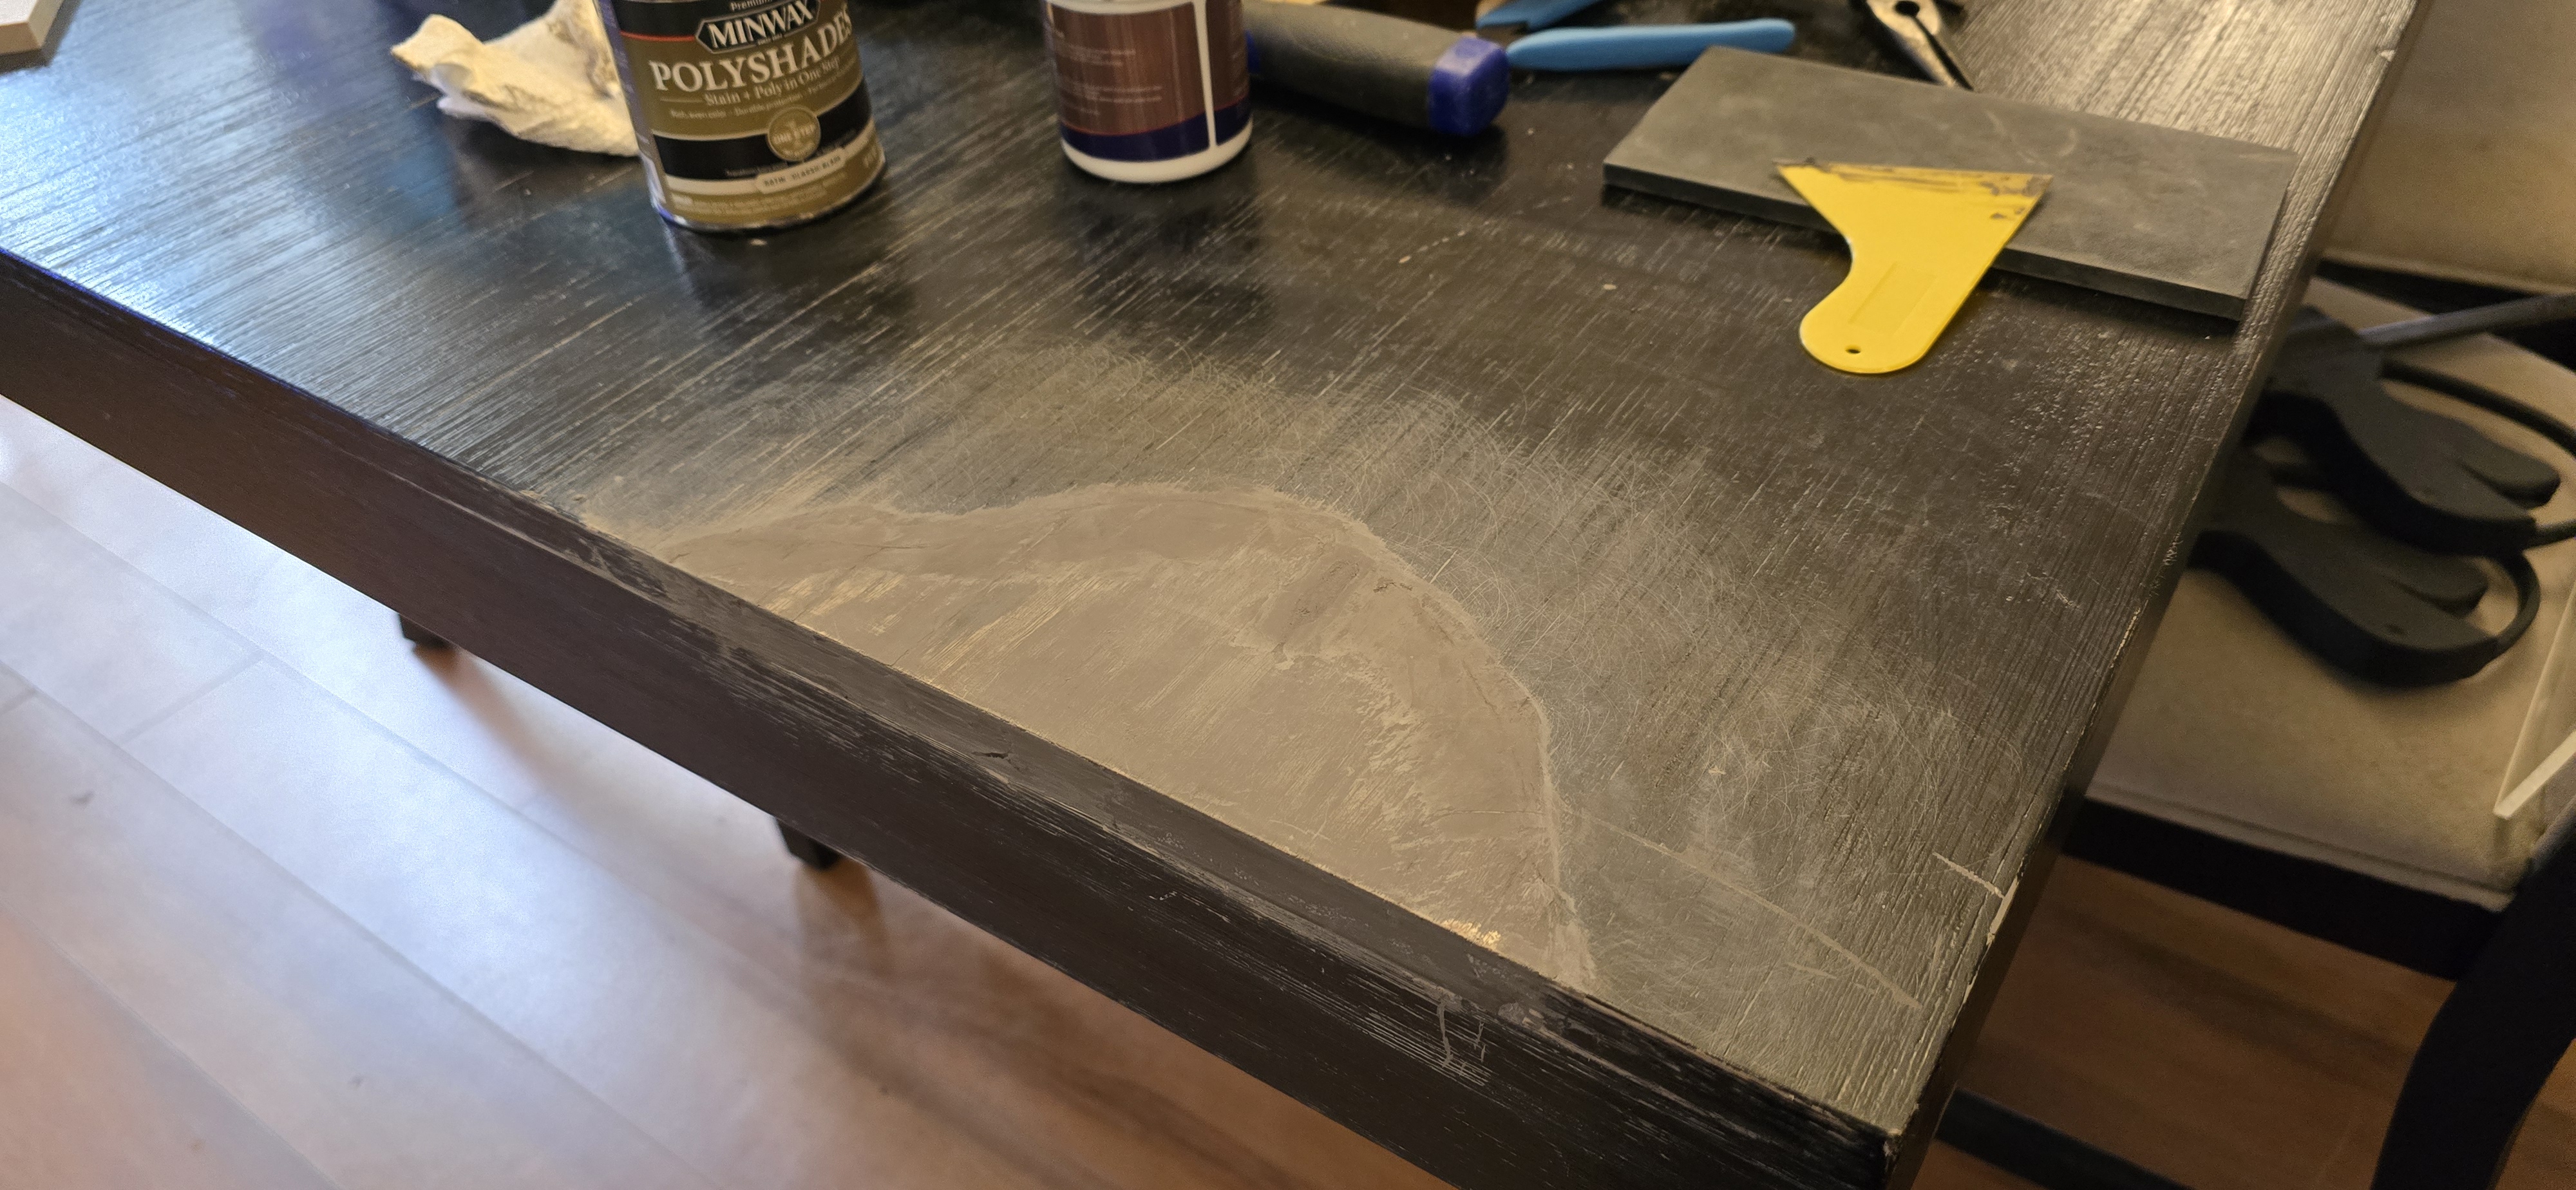
So there was going to be a spot with no wood grain, but other than that, the repair looked pretty promising overall at this point. I got a can of black tinted polyurethane and applied a couple coats to just the damaged area, sanding in between.
Little out of focus in that pic, but you can see what it looked like after the poly. Now I already knew from experience that the repaired area wouldn't blend in with the rest of the table unless I applied one more coat of polyurethane to the entire surface. I cleaned and lightly sanded the whole table at this point, then got to work. It actually didn't take that long to refinish the whole top, less than an hour probably.

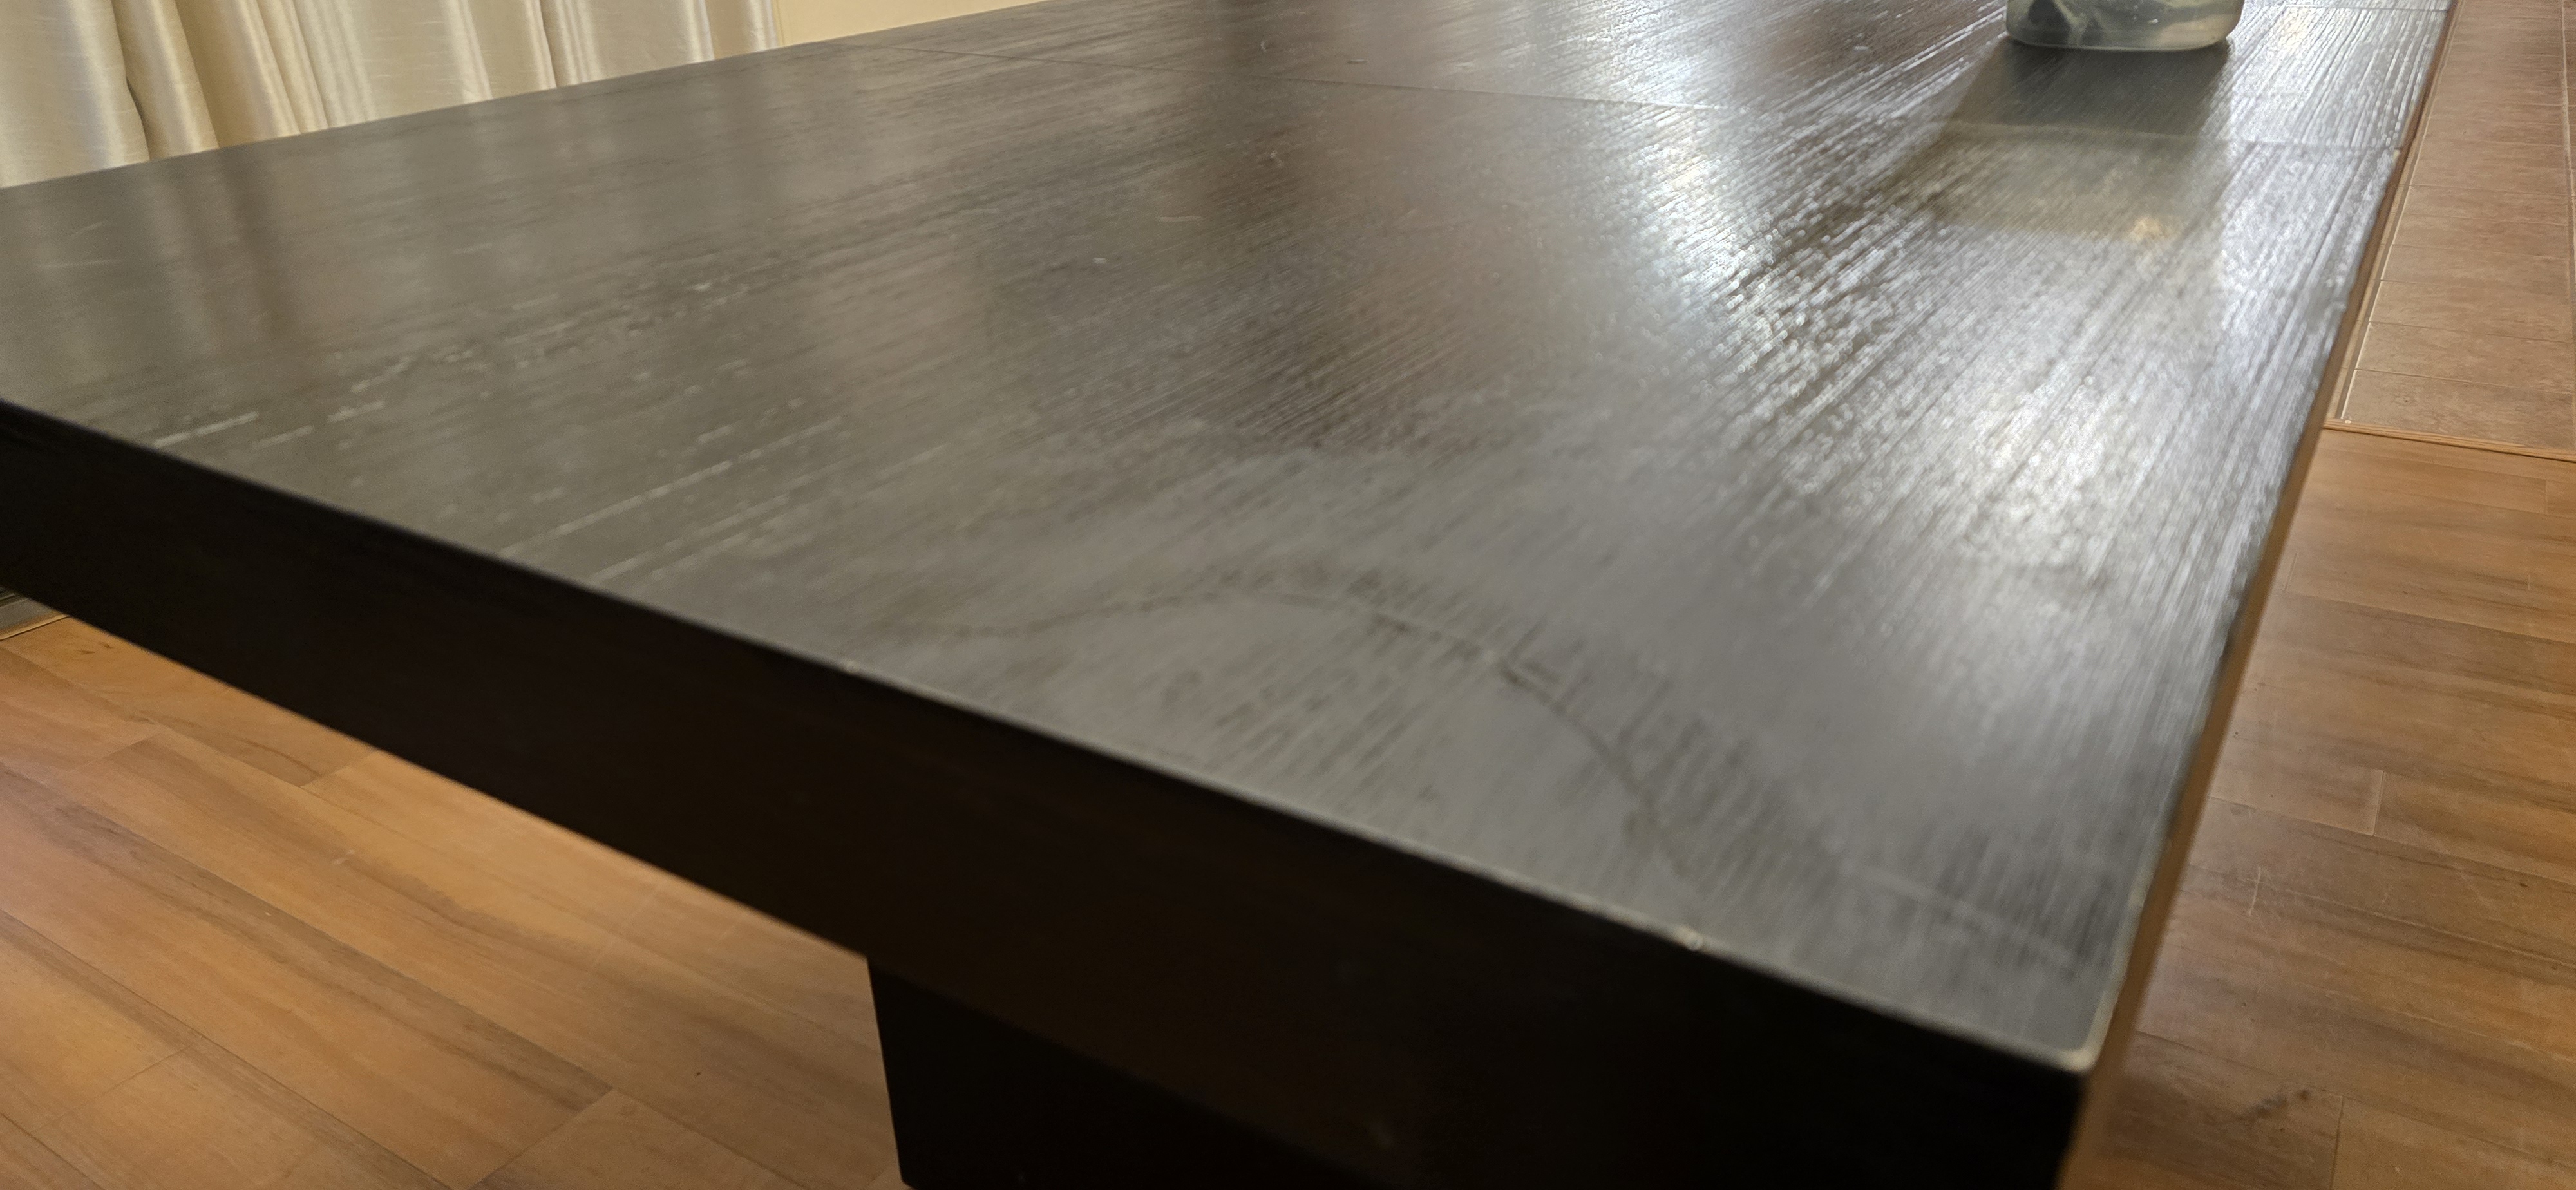
The final result. If you look at it closely, you can still see the outline of the damaged area, and the lack of wood grain texture. So on close inspection, you can certainly see the repair. I had pretty realistic expectations about this job going in, and didn't expect the end result to be completely unnoticeable. And given the degree of the original damage, I'm actually pretty happy with this final result, compared to the cost (about $20) and effort (maybe three hours total) it took to fix.
Now to find some creative way to go and wreck the table again.